
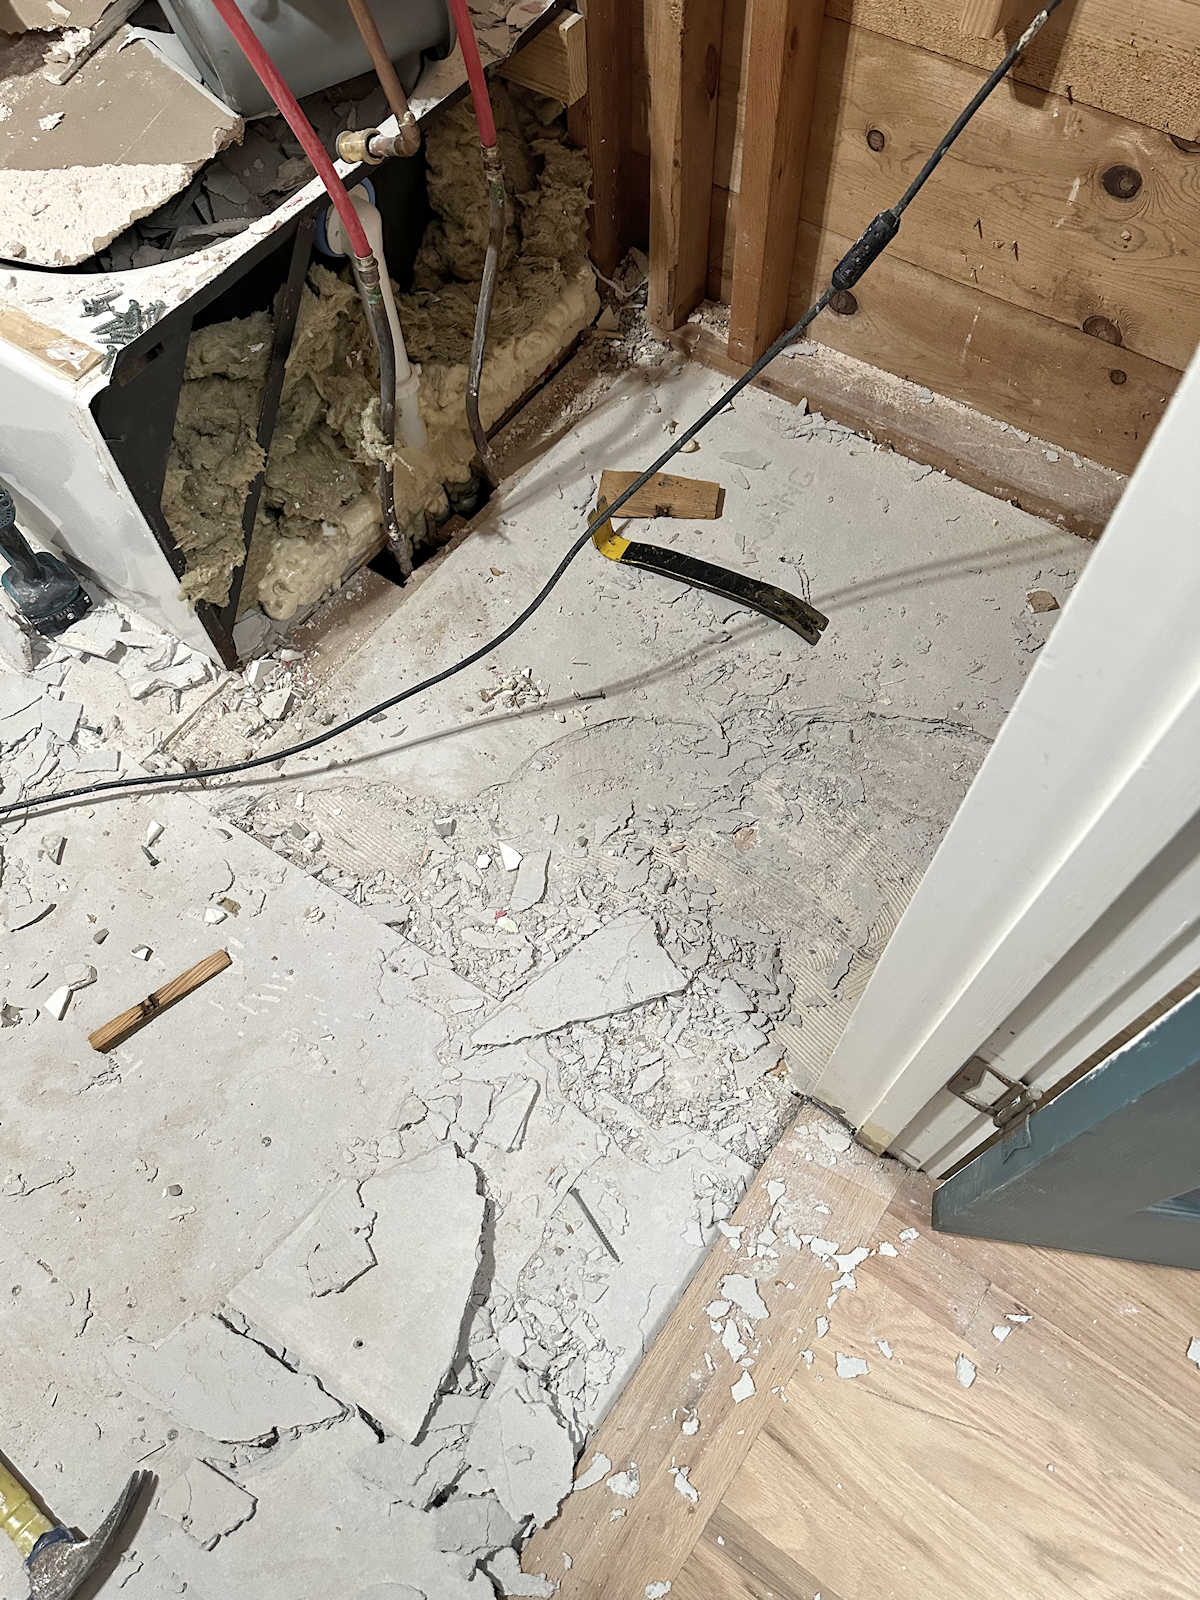
I wish that I could tell you that things were going smoothly with the storage room progress, but they’re not. I’ve hit a pretty big roadblock. Here’s how things have gone since Friday.
On Friday, the plumber came over to give me a quote on capping off all of the plumbing to the areas where I don’t need plumbing anymore, and running new plumbing to the corner where I want to put the sink. He was able to give me a ballpark idea of the cost, but in order to give me a precise price, he said he would need to look under the house. Well, that’s a problem because we haven’t had a scuttle hole to the crawl space of our house for many months now. That scuttle hole used to be in the closet area of the home gym which is now our bedroom. And since I didn’t want a scuttle hole in the floor of our bedroom, the plan has been to put the new scuttle hole in this storage room. But on Friday when he was here, I hadn’t even finished removing the old tile, so there was no new scuttle hole.
I told him that I was certain that I could get the rest of the tile and the concrete board up over the weekend, and then I would either have a new scuttle hole cut in the plywood subfloor or I would just unscrew a piece of the plywood subfloor and remove it so that he could take a look underneath. He said that was no problem, and he’d just swing by very quickly on Monday morning and take a look underneath the house.
So over the weekend, I got to work. I finally removed the toilet. I got the rest of the tile removed, bagged up, and taken out of the room. And then I started trying to take up the concrete board. For some reason, I thought it would be a simple task that involved unscrewing the concrete boards from the plywood subfloor and taking them out of the room one by one.
But after I unscrewed the first board, it didn’t budge. I couldn’t figure out why. Had I missed some screws? Why wasn’t the board budging? So I got my phone out, opened up my blog, and searched for the post that I wrote all those years ago when I remodeled this bathroom to review the process I had used. And that’s when I realized that the concrete boards weren’t just screwed to the plywood subfloor, but they were also mortared to the plywood! I had totally forgotten about that.
That’s the proper way to do it, so hurray for Past Kristi doing things right. But Past Kristi has made Current Kristi’s work an absolute nightmare. I worked and worked and worked for what seemed like hours to get this concrete board up. I used my hammer to try to crack it and chip it off of the plywood. I used my prybar and hammer to try to get underneath it. I used my Dremel Multi-Max to try to get underneath it.
And after all of that work and all of that time, I had only removed this much.
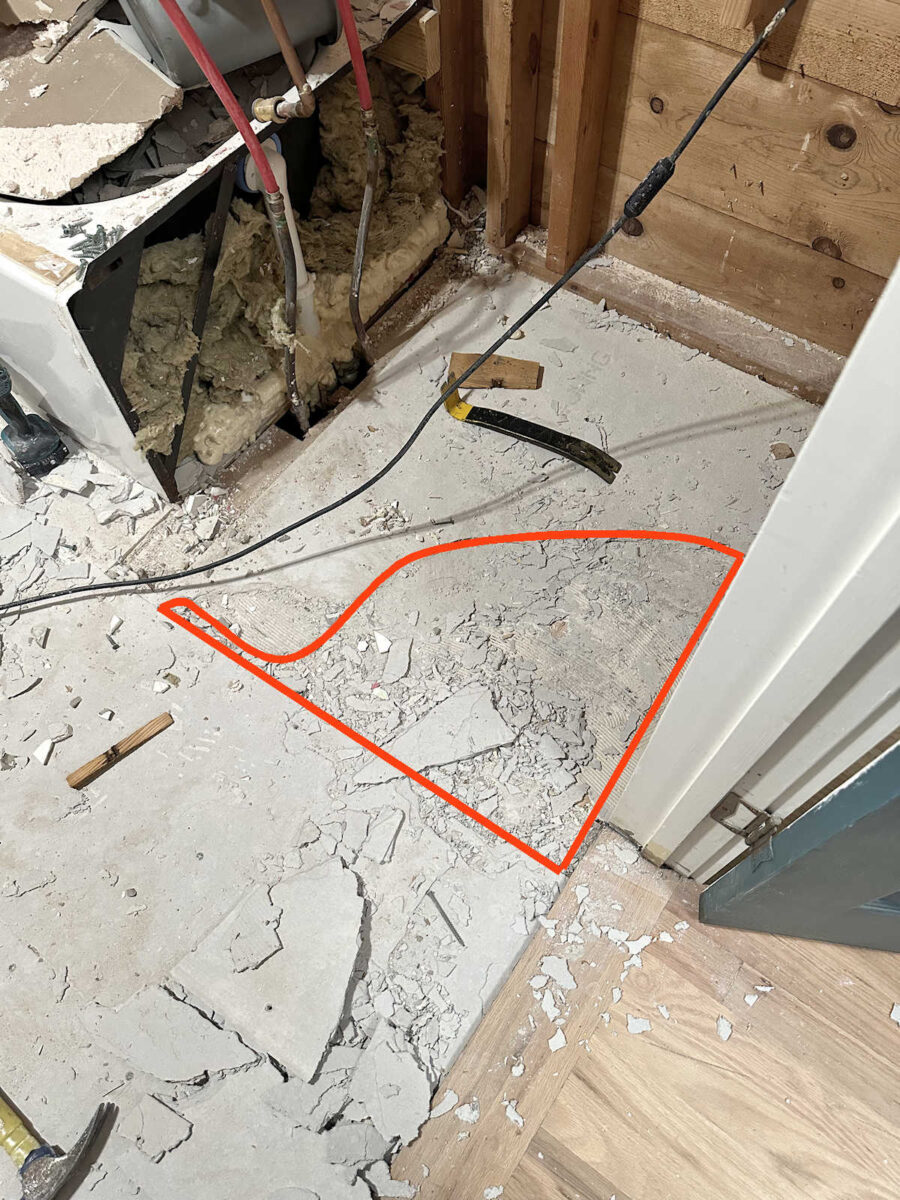
I thought about buying a flat blade for my hammer drill, which is a great tool for getting tile off of a floor. But I was afraid that it would also gouge my plywood subfloor. Even just using the hammer, prybar, and Dremel, I had already made a couple of gouges in the plywood. So I quit. It’s not often that I give up, but I had to take some time, clear my head, get past my frustration, and come up with a clear plan.
I really wanted to continue the hardwood flooring in this room not only because I think it would look nice to continue the flooring from the foyer, but also, I already have three boxes of the hardwood flooring on hand left over from when the new flooring was installed in the rest of this area (foyer, closet, and bedroom). And spending less out-of-pocket money right now for this project was a huge plus for me. But the only way to get the hardwood flooring in this room seemed to be taking up not only the concrete board, but also the plywood subfloor and replacing the subfloor with new plywood.
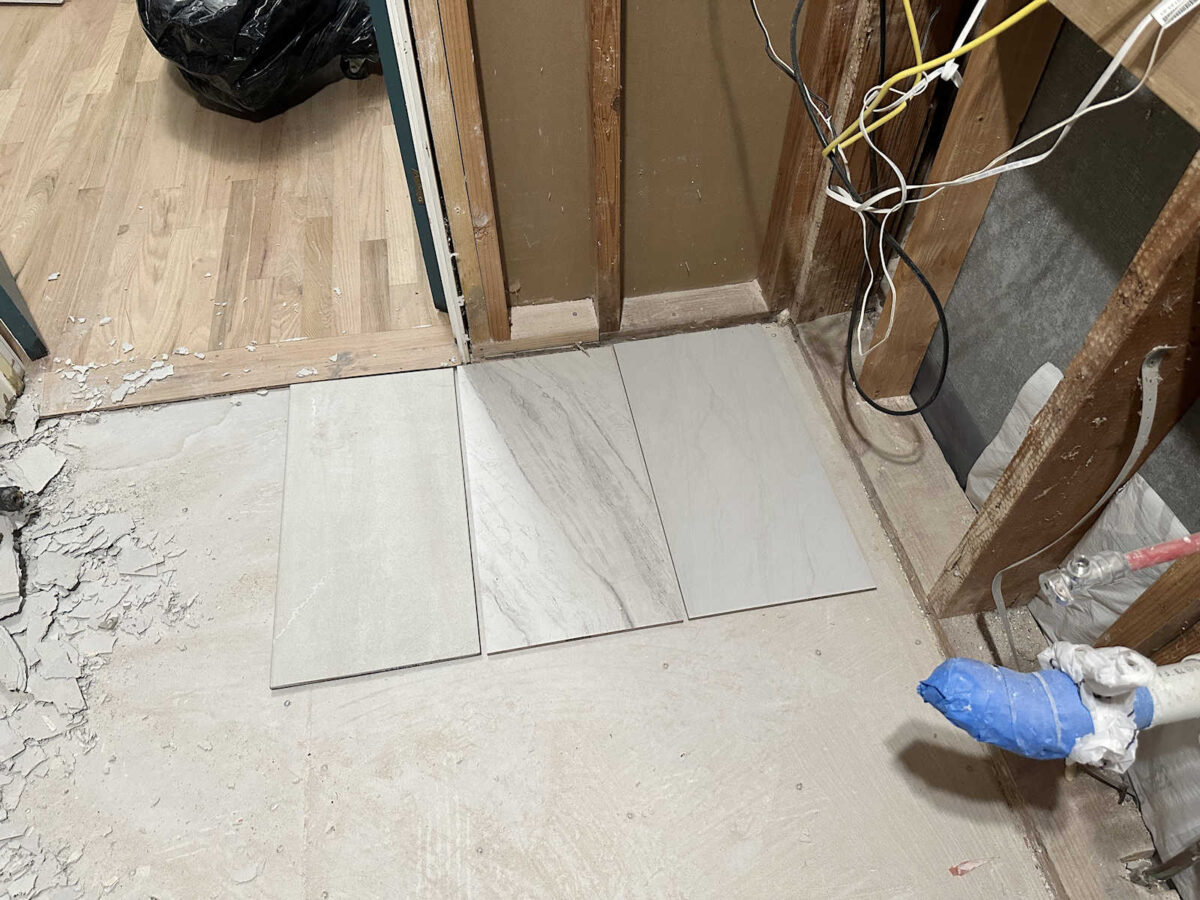
I haven’t completely ruled out that options, and I’ll explain why in a minute. But I also considered a second option. Since the old tile had come up so cleanly, my second option was to simply put down new tile. So I headed to Home Depot to check out the options. I only found three that I like of the ones available in stock. So I brought them home to look at them in the room.
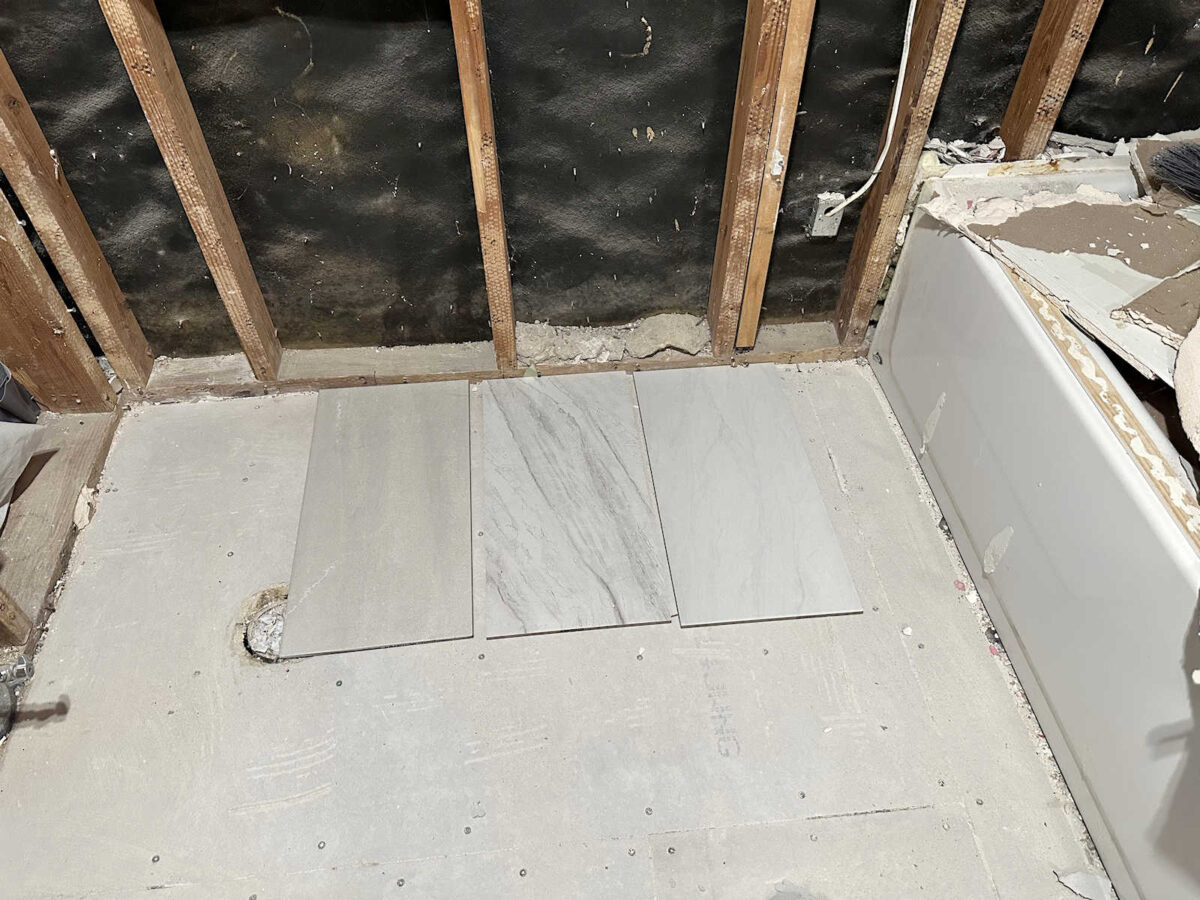
Of the three, the one on the left is my favorite with the one on the right as a runner up. I don’t like the heavy veins in the middle one.
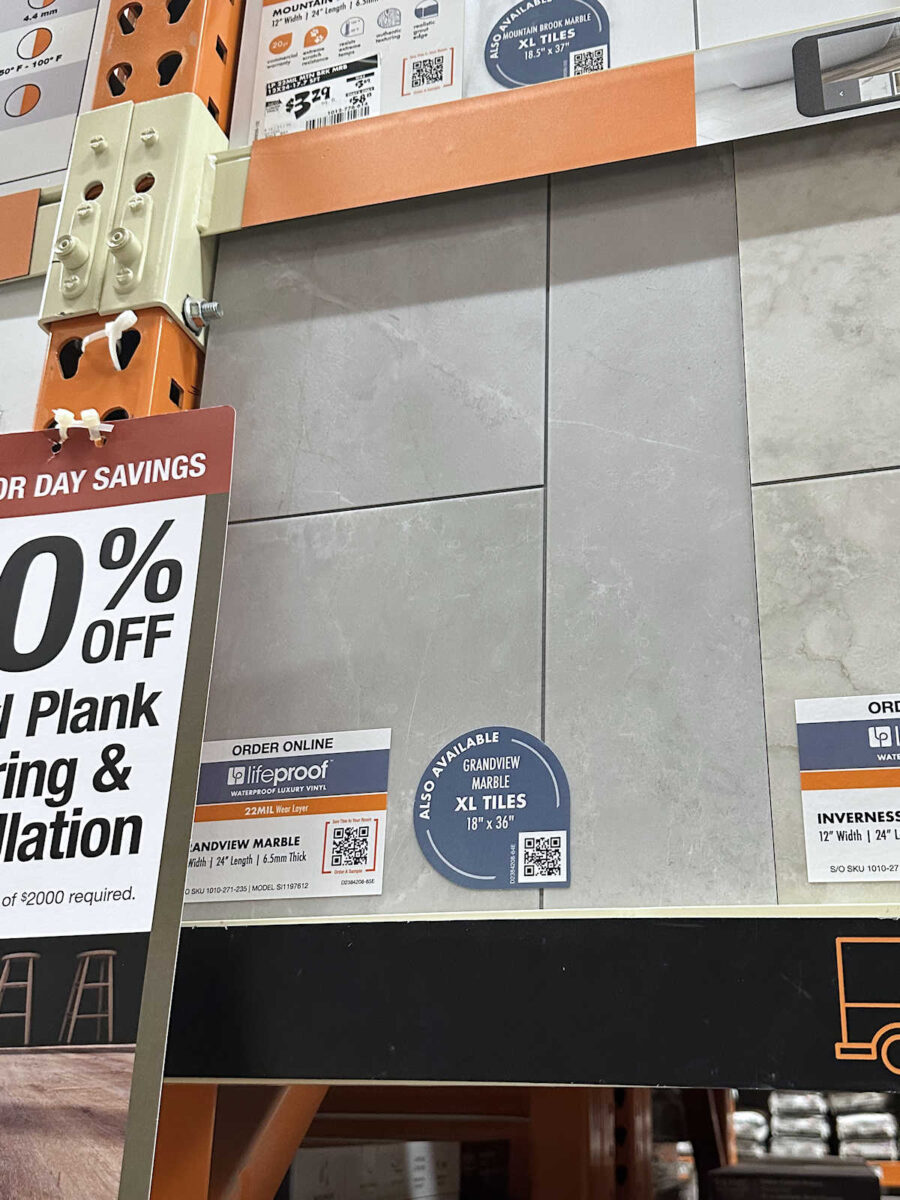
But while I was there, I also checked out other options since the idea of laying real tile leaves me with a sense of dread. It’s a project that I hadn’t planned for, so I just can’t make myself get excited about installing tile. So I also looked at the vinyl tile. Of the options, this Lifeproof Grandview Marble is the only one that I liked.
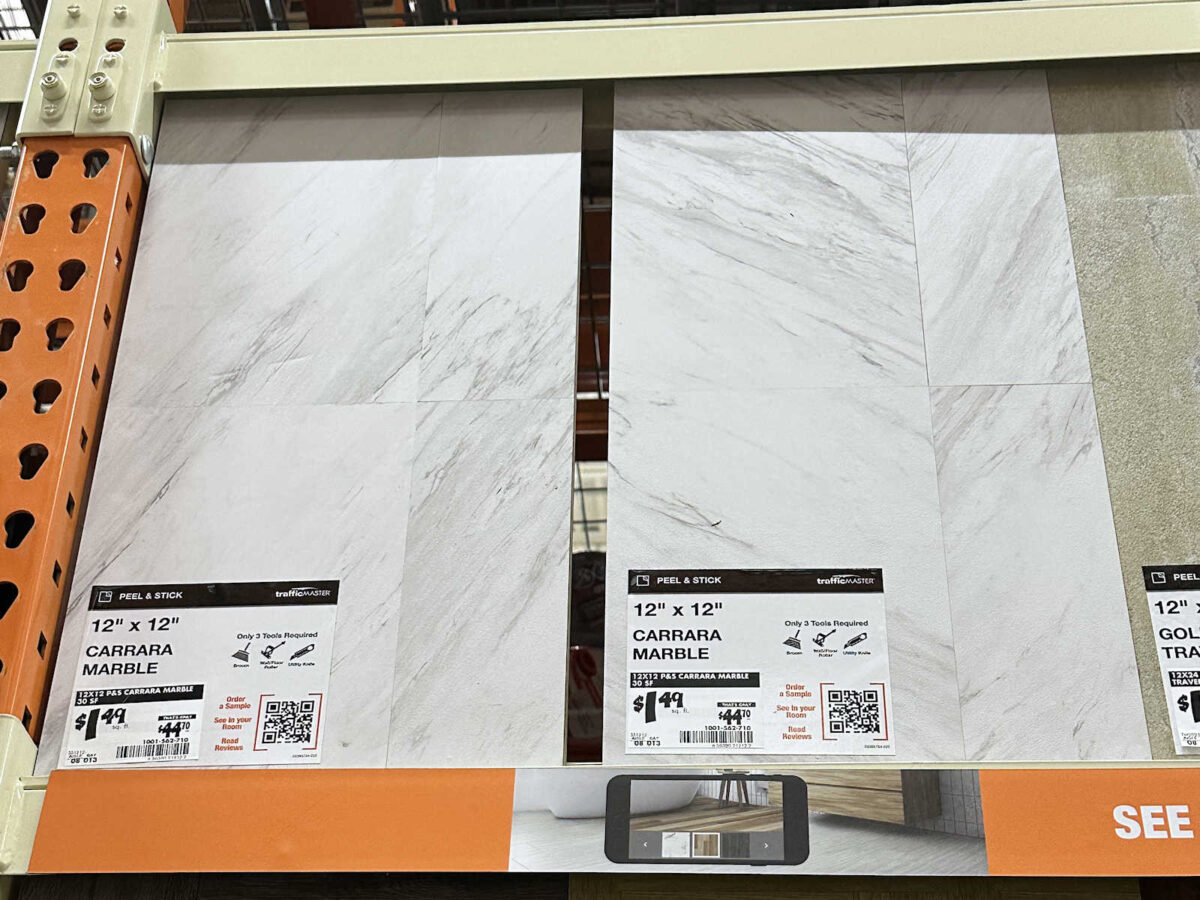
And I’m also not opposed to peel-and-stick tiles. After all, it’s just a storage room. Of those options, I liked this Carrara Marble…
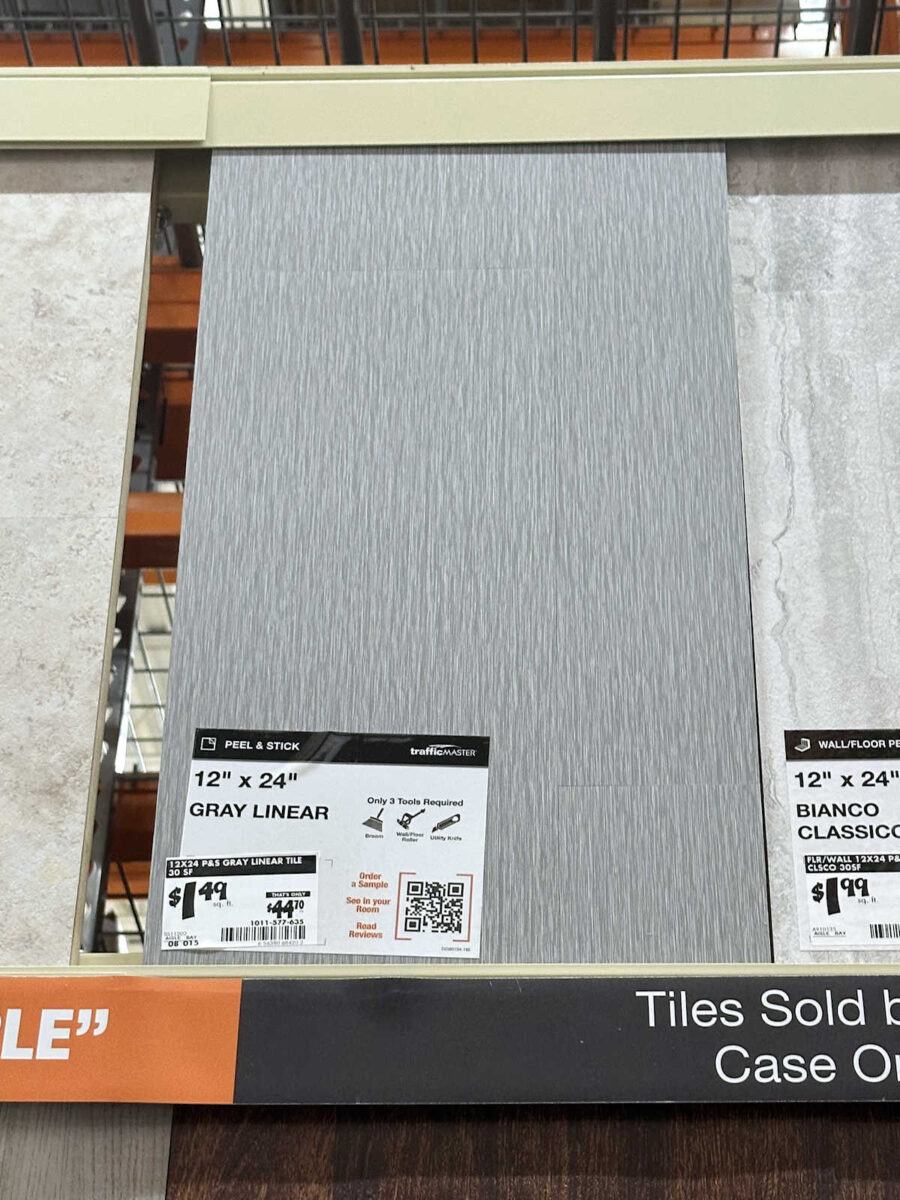
And I also liked this Gray Linear…
Here’s the problem. If I just repair the small area that I messed up on the concrete board (I have a plan for that) and then put new tile over it, I have no idea where to cut my scuttle hole. I was really counting on being able to take the concrete board up and then unscrewing a piece of the plywood subfloor and taking it up so that I could get a visual of where the floor joists are in the room. Then I’d know exactly where to cut the plywood for the scuttle hole.
Without being able to do that, I’m just guessing. I’d have to cut a random hole, see if I can look or feel underneath to see where the joists are, and then figure out from there where to cut the scuttle hole. Either way, there’s really no simple option at this point. *Sigh* I’m determined to figure this out, and I know that I will. I know that I’ll get past this roadblock, but I’m at the point in the project where this roadblock seems overwhelming.

Addicted 2 Decorating is where I share my DIY and decorating journey as I remodel and decorate the 1948 fixer upper that my husband, Matt, and I bought in 2013. Matt has M.S. and is unable to do physical work, so I do the majority of the work on the house by myself. You can learn more about me here.
Trending Products