
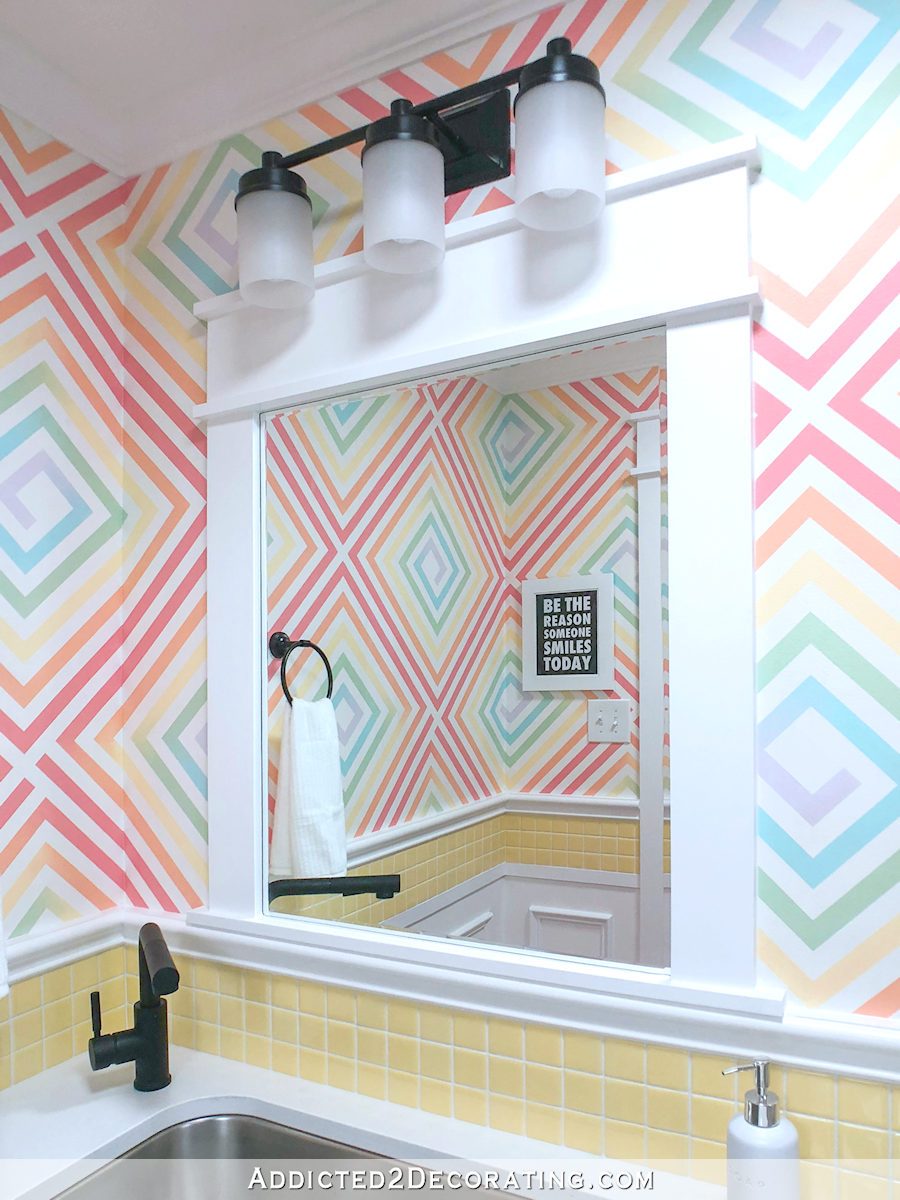
I didn’t quite get as far as I had hoped on the bathroom over the weekend, but the good news is that the glued-on mirror has been removed, the walls have been prepped, and they’re now ready for primer and wallpaper!
I’ll start with the mirror removal. A huge THANK YOU to all of you who gave me tips on how to get this mirror off of the wall. It’s very clear that when I put this mirror on the wall several years back, I had no intention of this thing ever being removed. It was meant to stay on this wall until the end of time based on the amount of mirror mastic I had used. So removing it was slow and tedious, but I just worked patiently and methodically until every piece of it was gone.
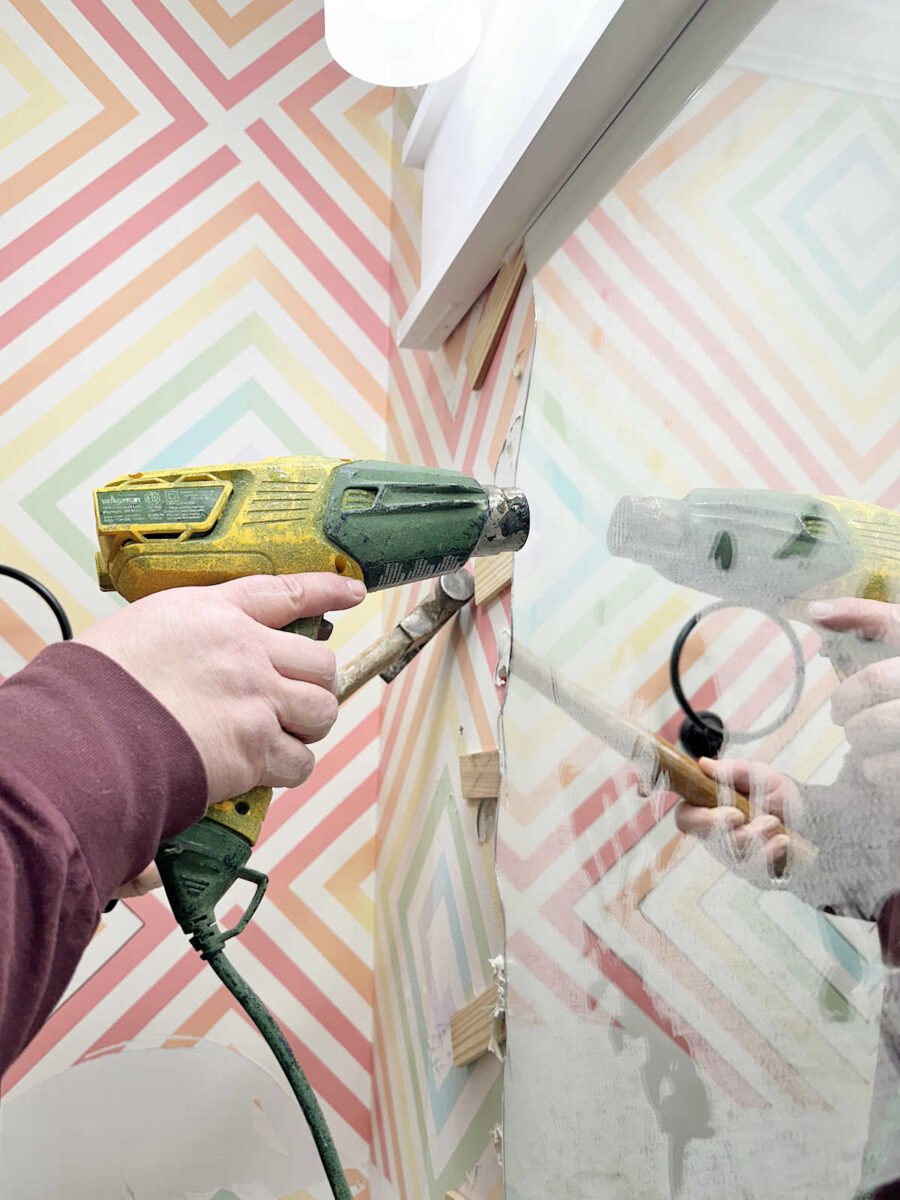
I didn’t want to have to purchase anything (like piano wire) if I didn’t have to. So based on your suggestions, and then seeing what I had on hand, I decided to use my heat gun and wood shims. That actually worked perfectly! To clarify, it was a perfect solution since I wasn’t concerned in the least about breaking this mirror. Since I had no plan to reuse it, I didn’t care if it broke in the removal process. If my intent was to keep it in one piece, this process wouldn’t have worked because of the amount of mirror mastic I had used to attach it to the wall.
Using the wood shims and a hammer, I put the shims between the wall and the mirror as far as they would go.
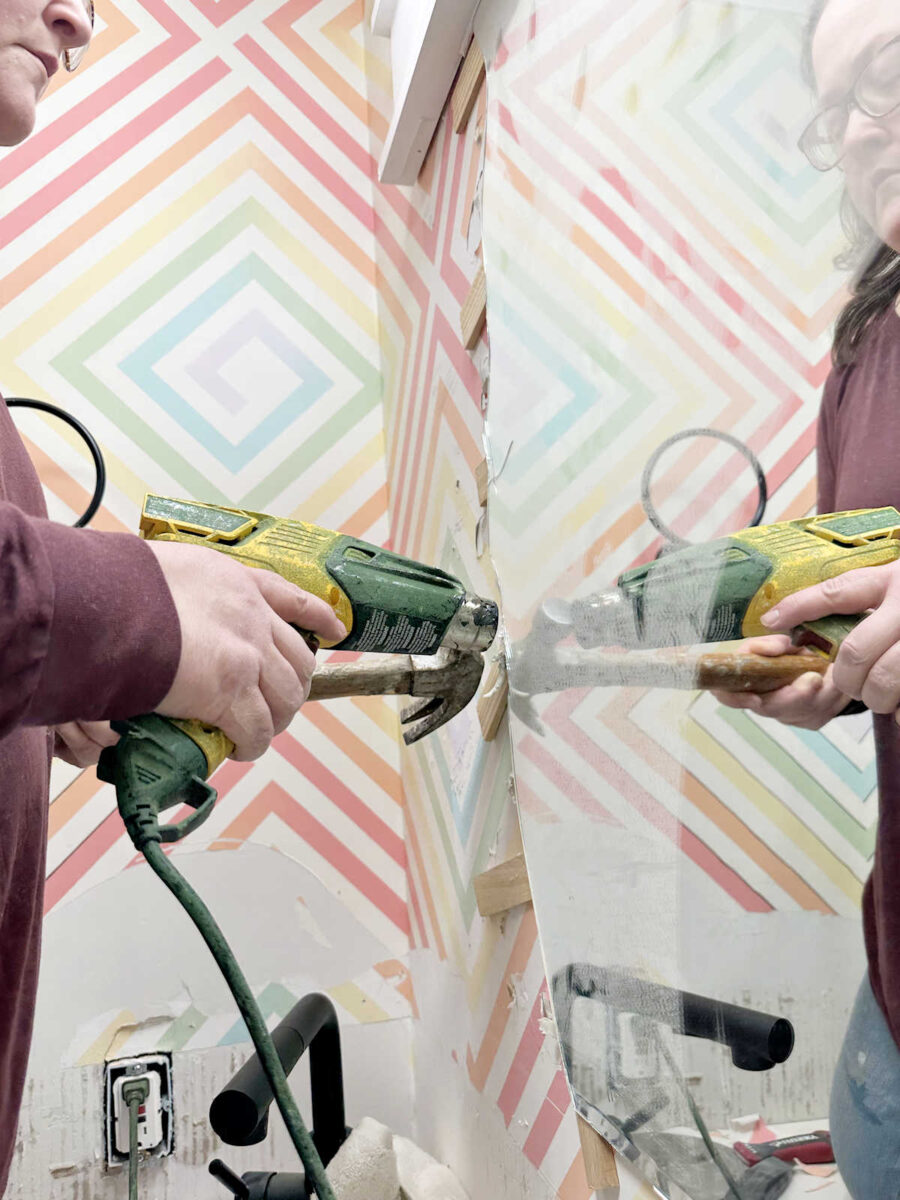
When I felt resistance, I would stop, use my heat gun to soften the adhesive, and then hammer the shims in as far as they would go until I’d feel resistance again.
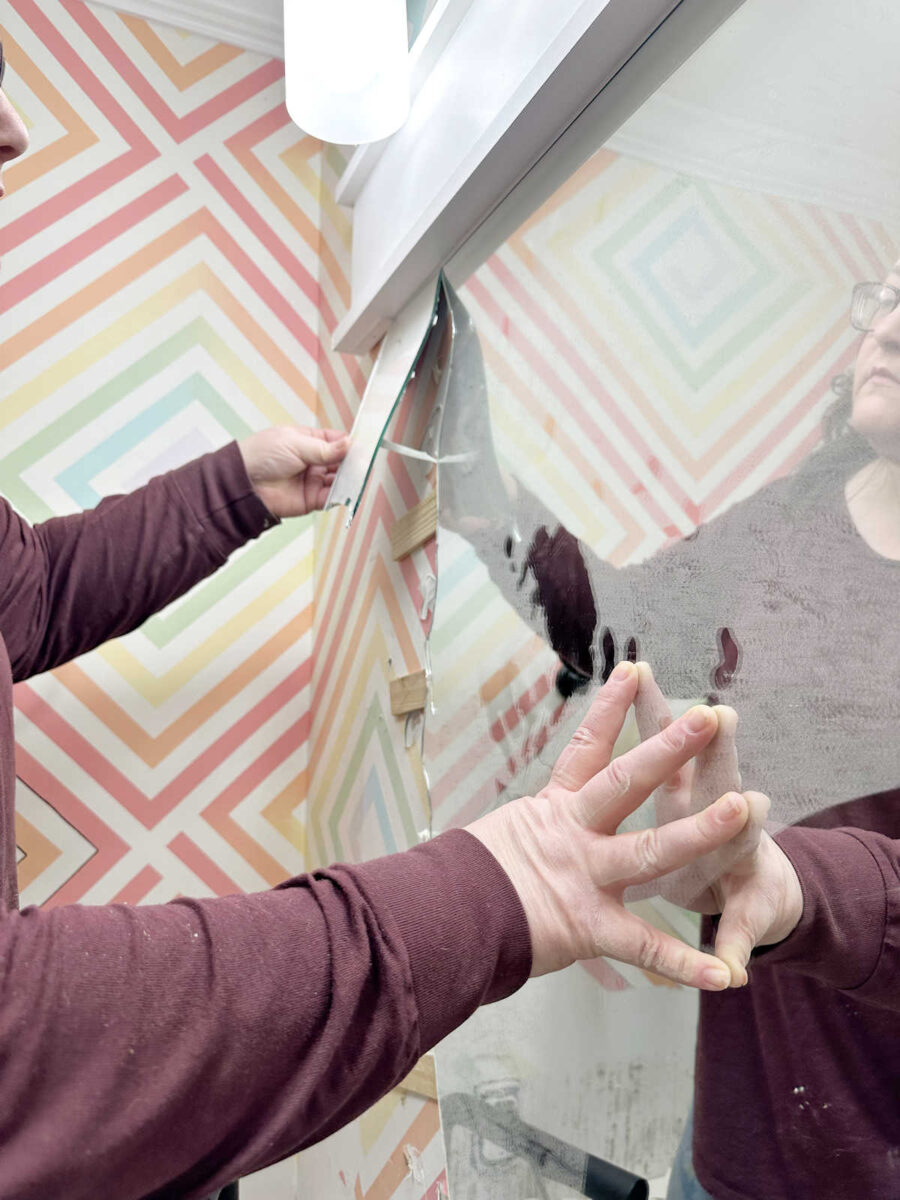
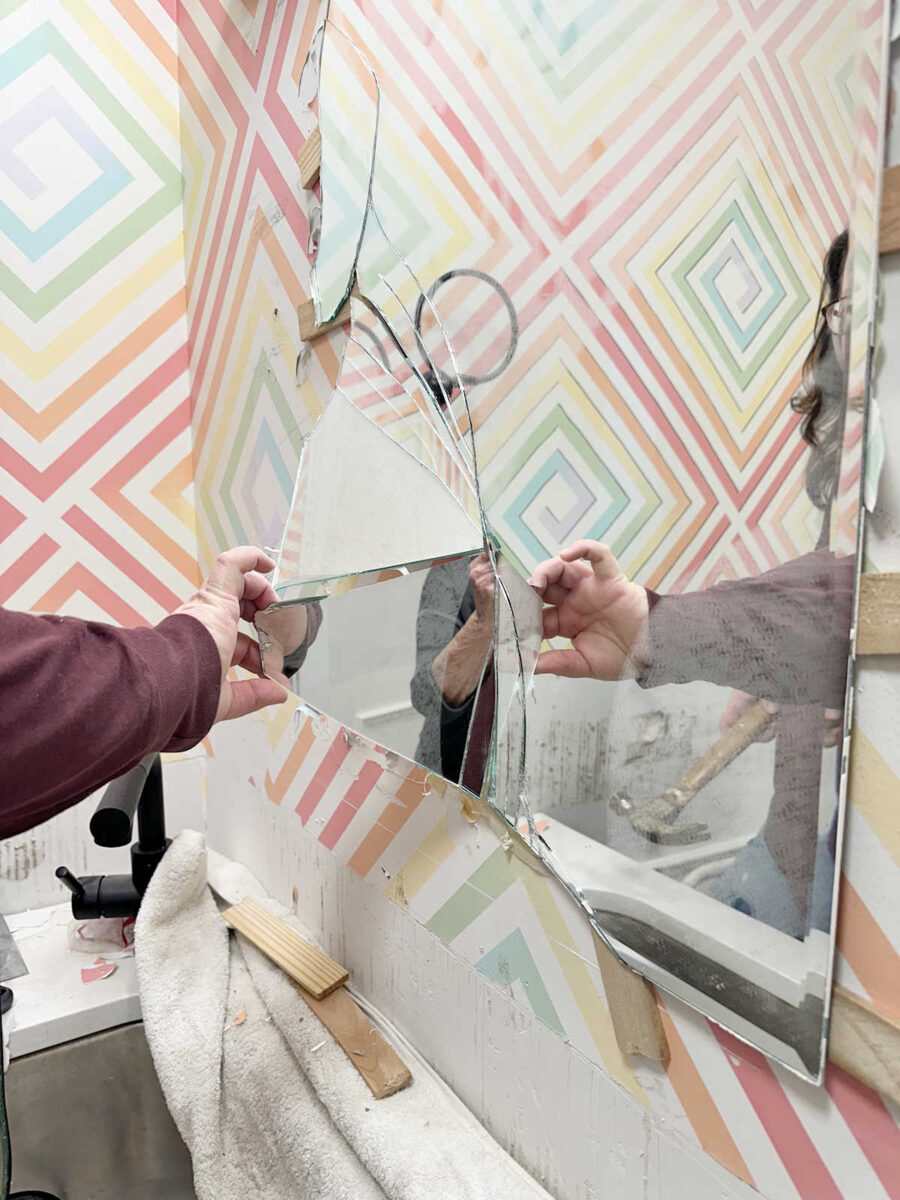
As each piece broke, I’d pull it off the wall and then repeat the process with the heat gun and shims.
It was a pretty slow process, so it took quite a bit of patience.
Also, I didn’t bother taping the front of the mirror because I knew that I had used so much mirror mastic to put the mirror on the wall. Not one single piece of the mirror fell on its own. As you can see below, I literally had to pull each and every piece off of the wall. There wasn’t a single piece that didn’t have mastic on it.
So, lesson learned. If I ever glue a mirror to a bathroom wall again, I will use a much smaller amount of mirror mastic, and I’ll only put it in the four corners, and maybe one dollop in the center of the mirror. Maybe. But what I did when attaching this mirror to the wall was overkill, and that’s an understatement.
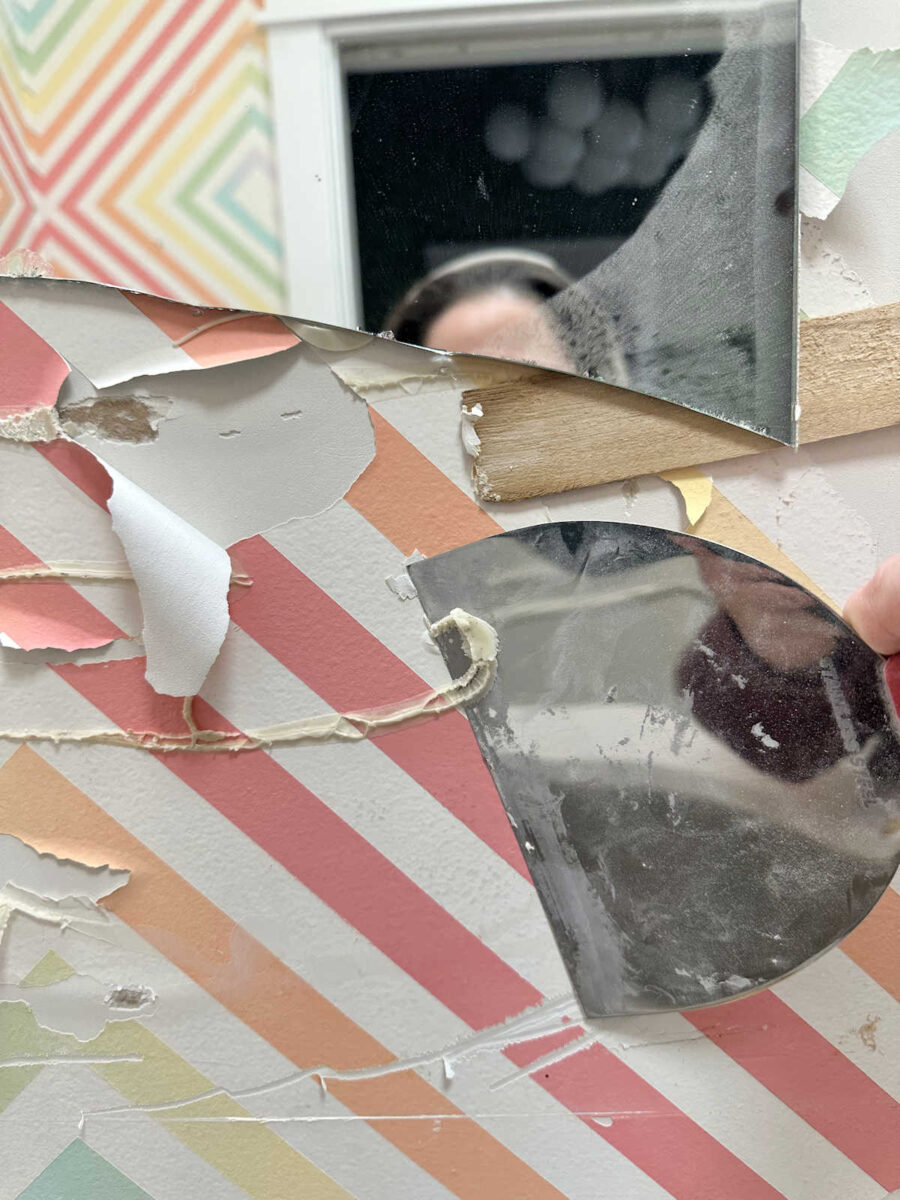
For any mastic that was left behind on the wall, I used my heat gun and drywall mud knife to scrape it off. It actually came off very easily. But as you can see below, the whole process caused quite a bit of damage to the wall.
So after I got the whole thing removed, I then had to spend quite a bit of time sanding down the rough edges, mudding the whole area (along with the areas all around the room where the tile and trim had been removed), and then doing a whole lot of sanding once the drywall mud had dried.
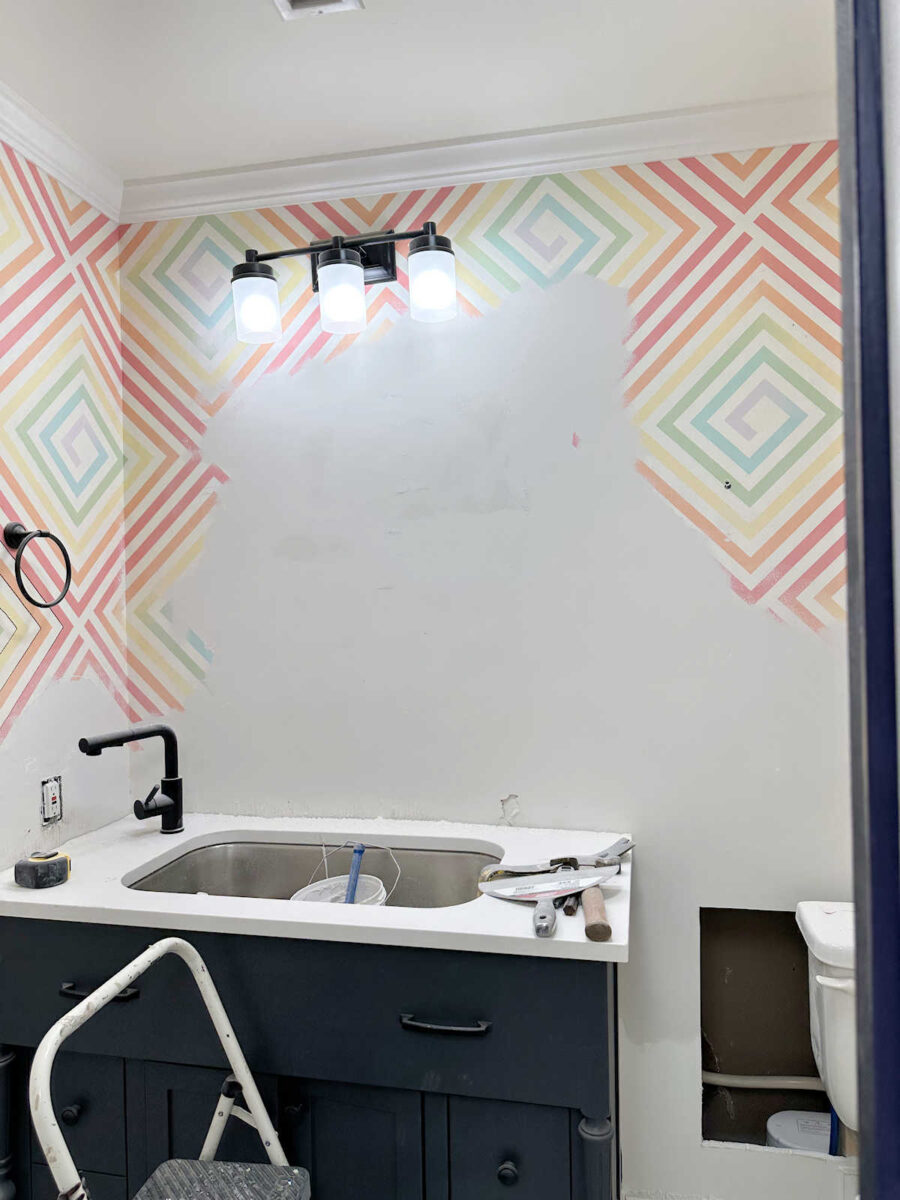
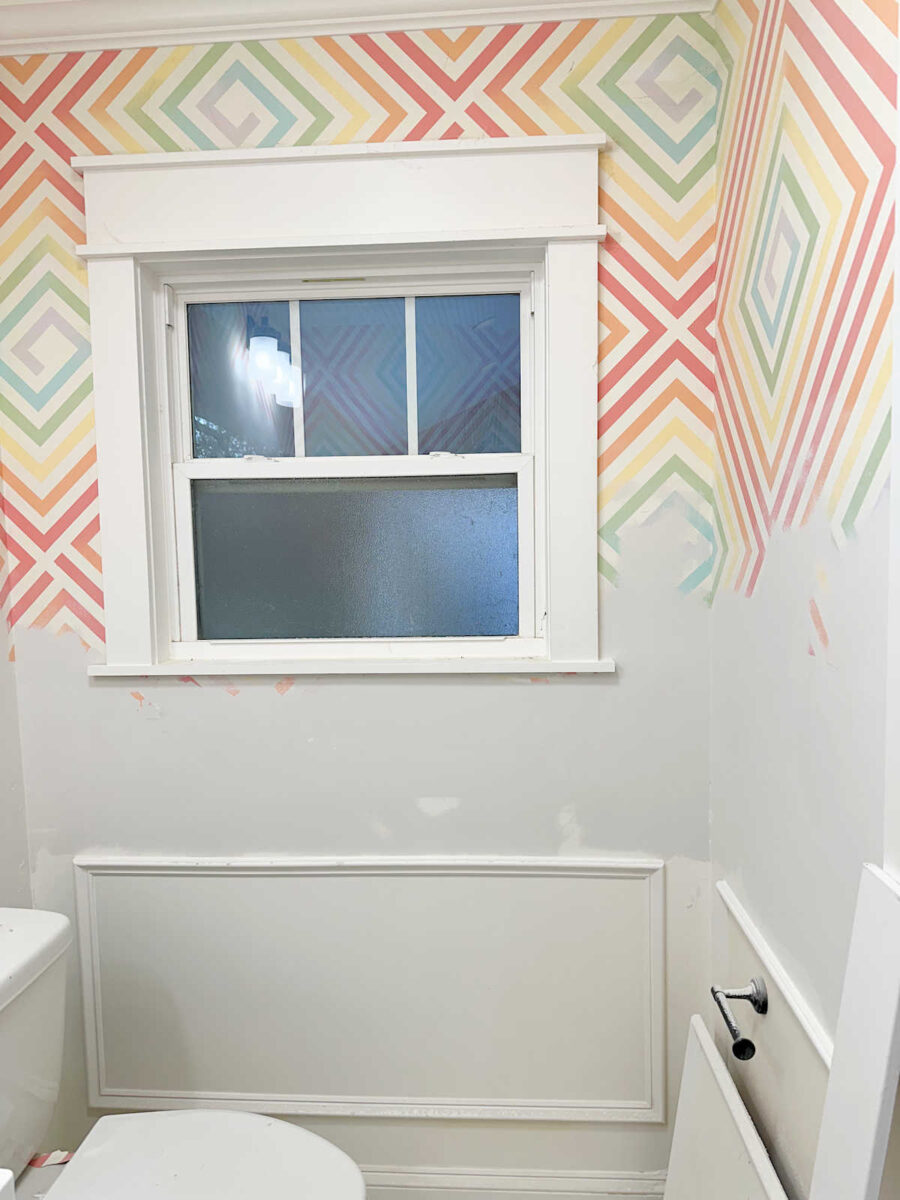
But the good news is that these walls are now sanded and ready for primer.

I’ll give the primer about 24 hours to dry, and then I’ll be ready to install wallpaper! While I’m waiting for that, I can go ahead and install the trim to finish up the top portion of the wainscoting and get that all finished. I bought all of the trim I need for that yesterday, so I’m ready to get going on that today.
So if it were just a matter of the majority having their say, the decision would be made. But since this is my house and my studio and my bathroom, it’s not quite that simple. 😀 For me, this one is still in the running and actually has a slight edge over the eggplant vanity.
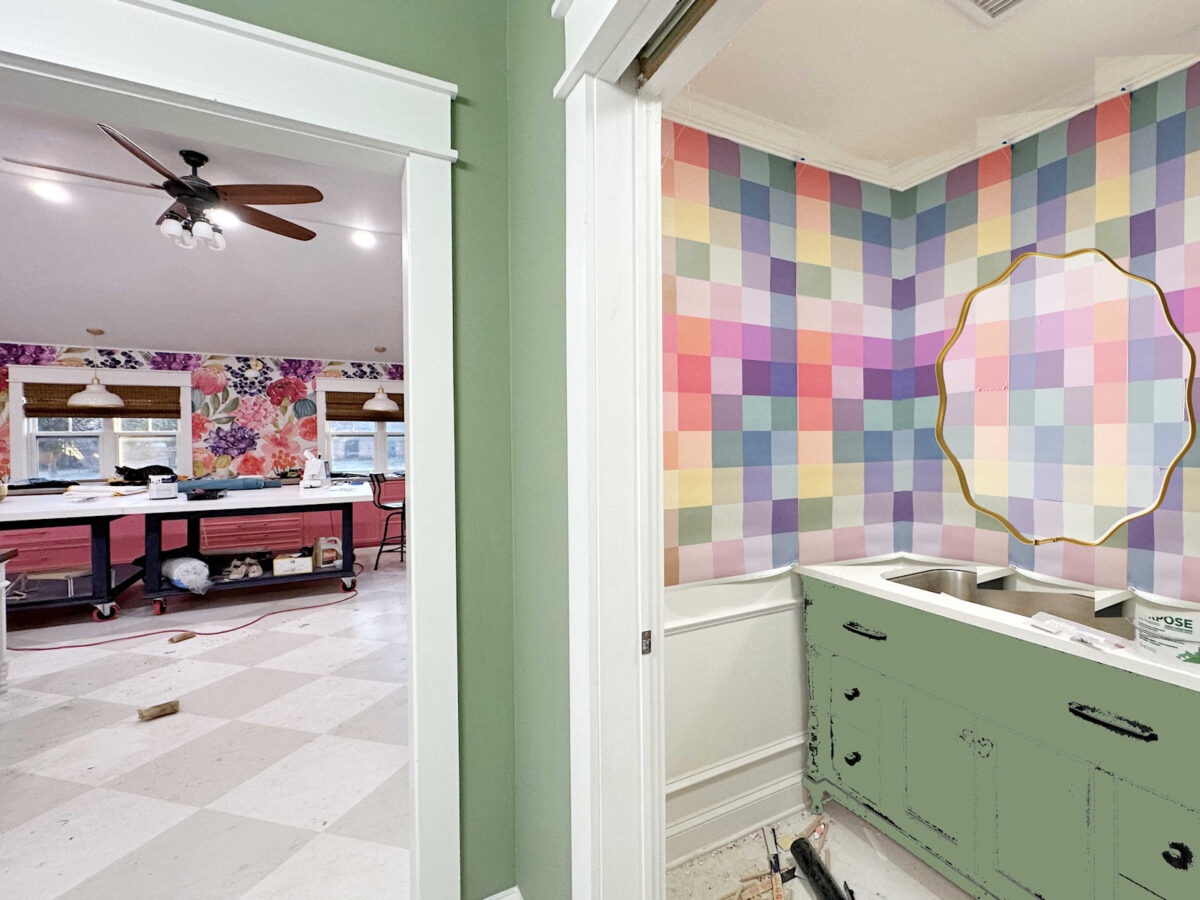
So, at this point, I don’t think it’s more input that I need. I just need to make a decision and get it done. Who knows what I’ll end up with? I could flipflop between the two ten more times before I’m actually standing at the paint counter in Home Depot ordering paint. And even after it’s painted and the wallpaper is up, I could change my mind again. After all, I’m me, and that’s what I do if I’m not 100% satisfied with something. 😀 But if I were forced to make a decision right this minute, you could expect a green vanity. I’d probably make it slightly lighter value than the green on the back entry walls of the studio. But again, we’ll see! It might all come down to my mood at the moment.
More About My Studio Bathroom
see all studio
bathroom diy projects
read all studio
bathroom blog posts

Addicted 2 Decorating is where I share my DIY and decorating journey as I remodel and decorate the 1948 fixer upper that my husband, Matt, and I bought in 2013. Matt has M.S. and is unable to do physical work, so I do the majority of the work on the house by myself. You can learn more about me here.
Trending Products